
How to View USD Files Online
USD is Pixar's open scene description format used across VFX, animation and visualisation. This guide explains the .usd, .usda and .usdc variants, how to open one in the browser, what the Info panel reports, and how to work with referenced assets without a full DCC toolchain.
What USD is and why it matters
Most 3D formats describe a single asset. A .glb holds one scene; an .obj holds one mesh. USD (Universal Scene Description) is different. It was built by Pixar for feature-film pipelines where a shot is assembled from hundreds of independently authored pieces — characters, props, sets, lights, cameras — each living in its own file and composed by reference.
A .usd file is the binary container. .usda is the same scene in human-readable text, useful for debugging and diffs. .usdc is a newer binary variant. All three describe geometry, materials, lights and hierarchy, and can reference textures and other assets by path rather than embedding them. The zipped package .usdz bundles the scene and its textures for AR Quick Look on iOS.
GLBKit renders .usd and .usda in the browser, including textures and basic scene structure, so you can review assets and references before opening DCC tools. It is an inspection viewer — it does not run full USD composition, variant sets or payload resolution — but it gives you a fast, accurate preview without installing Houdini, Maya or the OpenUSD stack.
Step by step
Open the USD Viewer
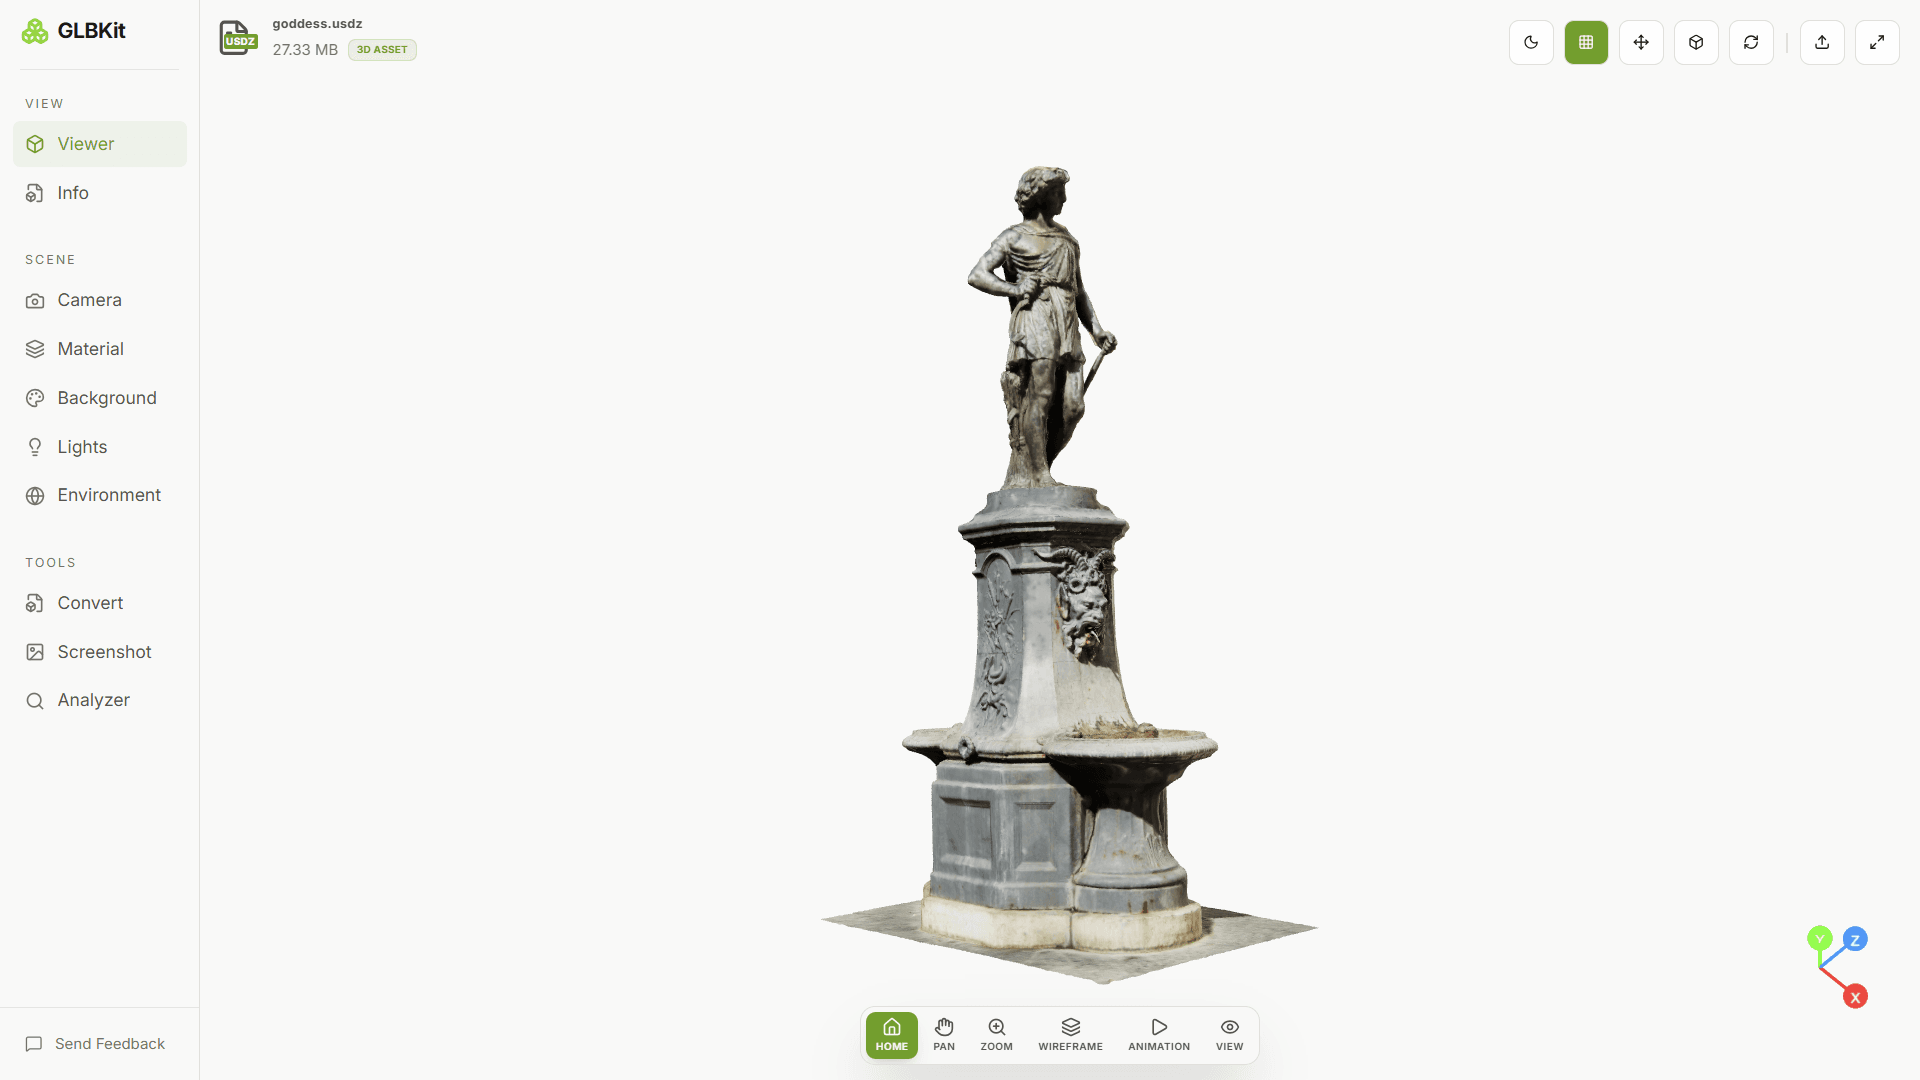
Load GLBKit's USD Viewer. The workspace opens on the Viewer tab, with the scene empty until you provide a file.
Drop in the .usd, .usda or .usdc file
Drag the file onto the drop zone or use Browse Files. USD can reference textures and auxiliary assets by path, so dropping the model folder — or a ZIP containing it — is the most reliable way to get textures to resolve.
Read the file in the Info panel
Open Info to see the mesh, material and texture names the scene contains, the node hierarchy as it arrived, and any animation clips it carries. Because a USD scene is authored to be composed, an empty Materials or Textures block means the file genuinely had none — not that something failed to resolve.
Frame it with the Camera panel
Pick a projection, one of the 7 view presets, a field of view (20° to 100°, default 40°) and a zoom level (0.25x to 5x, default 1x). Reset Camera returns perspective, a 40° field of view, 1x zoom and the isometric preset.
Judge it under lights
Open the Lights and Environment panels. USD surfaces are shaded with PBR values, so how they read depends on what is lighting them — Key, Fill, Rim lights, plus 4 HDRI presets for reflections.
Capture the result
Open Screenshot and choose PNG or JPEG output, a resolution up to 3840 × 2160 (4K), and a transparent, white, black background. Click Capture Screenshot, then Download Image.
What the Info panel reports
Info is a report on the file, not a control. It opens with a card showing the filename, detected format and file size, followed by collapsible sections — Meshes, Materials, Textures, Animations and Scene Hierarchy. Everything is collapsed by default, so the panel shows you the summary and nothing else until you ask.
| Section | Reports | If it is empty |
|---|---|---|
| Meshes | Mesh and submesh names from the scene | The USD contains no mesh data |
| Materials | Material names referenced by the meshes | The scene has no material assignments |
| Textures | Texture names and the texture types in use | No image textures are referenced or resolved |
| Animations | Clip names carried by the scene | The USD has no animation |
| Scene Hierarchy | The node tree as it arrived | The file has no usable node hierarchy |
Because USD references assets by path, an empty Textures section can mean either that the scene has no textures or that the referenced image files were not provided. Drop the model folder or a ZIP archive containing the textures to resolve them.
For a deeper inspection of geometry, materials, textures, memory and bounds, you can also use the 3D Model Analyzer.
Camera and framing
Dragging orbits around a point near the scene's centre, which is fine for exploring and awkward for reproducing. The Camera panel gives you the same view twice, in numbers rather than by hand.
| Control | Behaviour |
|---|---|
| Camera Type | Perspective or Orthographic. Orthographic hides the field of view slider. |
| View Preset | 7 fixed angles: Front, Back, Top, Bottom, Left, Right, Isometric. |
| Field of View | 20° to 100°, default 40°. Perspective only. Lower values flatten perspective, higher values exaggerate it. |
| Zoom | 0.25x to 5x, default 1x |
| Reset Camera | Perspective, 40° field of view, 1x zoom, isometric preset. |
The Recenter Camera button in the top-right toolbar is the same operation as Reset Camera. It reframes the loaded model without changing the projection or zoom, which is what you want after panning somewhere unhelpful.
Lighting and material
USD surfaces carry physically based values — base colour, metalness, roughness, opacity — so how they look depends heavily on what is lighting them. GLBKit splits that into two panels.
Lights
The Lights panel uses three named lights: Key, Fill, Rim. Key is the dominant source, Fill lifts the shadow side, and Rim draws an edge along the silhouette. Intensity runs 0 to 5 and position is adjusted on X, Y and Z axes from −20 to 20. Shadows are off by default and can be enabled per light.
Environment
The Environment panel applies an HDRI, which lights the scene from every direction at once and provides the reflections that make a metal read as metal. Four presets are available: Studio, Warehouse, Sunset, Outdoor. Intensity runs 0 to 3 and Rotation 0 to 360 degrees.
These two panels overlap, and that is deliberate — but it also causes the most common surprise. Switching HDRI presets changes the whole lighting environment, not just the background image, so a glossy material looks different under each one. When you are judging a material rather than styling a scene, turn HDRI off and work from the Lights panel alone.
Material overrides
For diagnosis, the Material panel is more useful than either. Select a material by name from the list at the top of the panel and override base color, metalness, roughness, opacity. A surface that corrects itself under an override had a texture problem. One that does not had a material problem.
If you want a dedicated image after adjusting the scene, the GLB Screenshot tool lets you capture the current viewport with dedicated format, resolution and background settings.
Capture settings
Capture settings live in one panel and cover three decisions. Nothing here is a separate rendering pass — the screenshot is taken from the viewport you have already framed.
| Setting | Options |
|---|---|
| Image Format | PNG or JPEG |
| Resolution | 1280 × 720 (HD), 1920 × 1080 (Full HD), 3840 × 2160 (4K) |
| Background | Transparent, White, Black |
Transparent requires PNG, because JPEG has no alpha channel; pick White or Black when choosing JPEG. Note that a transparent capture ignores the Background panel entirely — the two are independent, and the screenshot setting wins for the exported image.
For the complete capture workflow, see the How to Take GLB Screenshots guide.
USD file variants and references
USD comes in several flavours, and knowing which one you have helps avoid confusion.
| Format | Type | Best for |
|---|---|---|
| .usd | Binary | Production interchange, compact storage |
| .usda | Text (ASCII) | Debugging, version control, authoring |
| .usdc | Binary (newer) | Performance, larger scenes |
| .usdz | ZIP archive | AR Quick Look on iOS, single-file delivery |
A practical pattern: author in .usda so your scene stays diffable in review, then convert to .usd or .usdc for anything that ships. For AR delivery, package as .usdz. GLBKit accepts .usd, .usda and .usdc directly, and accepts .usdz by uploading the ZIP.
Because USD references textures and other assets by path, they only appear when the referenced files are present. Drop the model folder into the viewer, or ZIP the .usd/.usda with its texture directory and upload the archive. Files are processed locally; nothing is uploaded to a server.
When something looks wrong
Geometry is there but untextured
Common with USD, and worth checking in this order: confirm the Textures section of the Info panel lists your images, then rule out a codec the browser cannot decode. If the textures are listed but do not appear, the exporter likely used a compressed texture format the viewer cannot render, and re-exporting with standard PNG or JPEG resolves it. Also confirm the texture files were included in the upload — drop the folder or a ZIP.
Everything is a flat grey
The scene has no materials. Open Info, expand Materials, and if the section is empty the USD genuinely contains none — common for meshes that went through a geometry-processing step. Export from a tool that writes PBR materials, or accept the default material and override values in the Material panel for display purposes.
The upload is rejected
Confirm the file really ends in .usd or .usda and is under 150 MB. A truncated file — an interrupted download, or an export that was still writing when the process ended — passes the extension check and then fails to parse.
The render looks flat
Disable the HDRI and raise the key light instead. An even HDRI environment flattens contrast; a single directional key light with shadows restores form. Shadows are off by default in the Lights panel, and enabling them is often the single biggest improvement to a capture.
If you want to understand the model's geometry, materials, textures and memory before troubleshooting further, use the How to Analyze 3D Models guide.
FAQ
What is a USD file?
USD (Universal Scene Description) is an open, layered format developed by Pixar for composing, sharing and rendering 3D scenes. A .usd file is the binary container; .usda is the human-readable text form; .usdc is a newer binary variant. All three describe geometry, materials, lights and hierarchy, and can reference textures and other assets by path rather than embedding them.
What is USDZ?
USDZ is a zipped USD package designed for AR Quick Look on iOS and similar pipelines. It bundles the .usd or .usda file with its textures into a single archive. GLBKit's USD Viewer accepts a ZIP upload so the referenced textures resolve alongside the scene.
Do I need Pixar's full toolchain to open a USD file?
No. GLBKit parses USD and USDA in the browser and renders the geometry, materials and textures with WebGL. It is an inspection viewer — it does not run full USD composition, variant sets or payload resolution — but it gives you a fast, accurate preview without installing Houdini, Maya or the OpenUSD stack.
How do I get textures to show?
USD references textures by path, so they only appear when the referenced image files are present alongside the scene. Drop the model folder into the viewer, or ZIP the .usd/.usda with its texture directory and upload the archive. Files are processed locally; nothing is uploaded to a server.
Does the USD Viewer modify my file?
No. Every panel in the workspace changes browser state only. Camera, Material, Background, Lights and Environment are display settings, and Screenshot produces a separate image. Reloading the scene restores its original appearance.
How large a file can I open?
Uploads are capped at 150 MB and the drop zone displays the limit. Because USD scenes can reference very large textures, check the scene in the Info panel before opening something that may be heavy to render.
Can I convert a USD file to another format?
Yes. The Convert panel is part of the same workspace. Once a USD scene is loaded it lists the targets available from it and converts in the browser.
Which materials does the viewer support?
USD surfaces are rendered with physically based values — base colour, metalness, roughness, opacity — and GLBKit applies them in the viewport. The Material panel lets you override base color, metalness, roughness, opacity per material by name, which is the quickest way to tell whether a surface that looks wrong has a texture problem or a material problem.
Related guides
Open the USD Viewer
Drop in a .usd, .usda or .usdc and the whole workspace opens around it: file contents, camera, materials, lighting, conversion and capture.